開頭
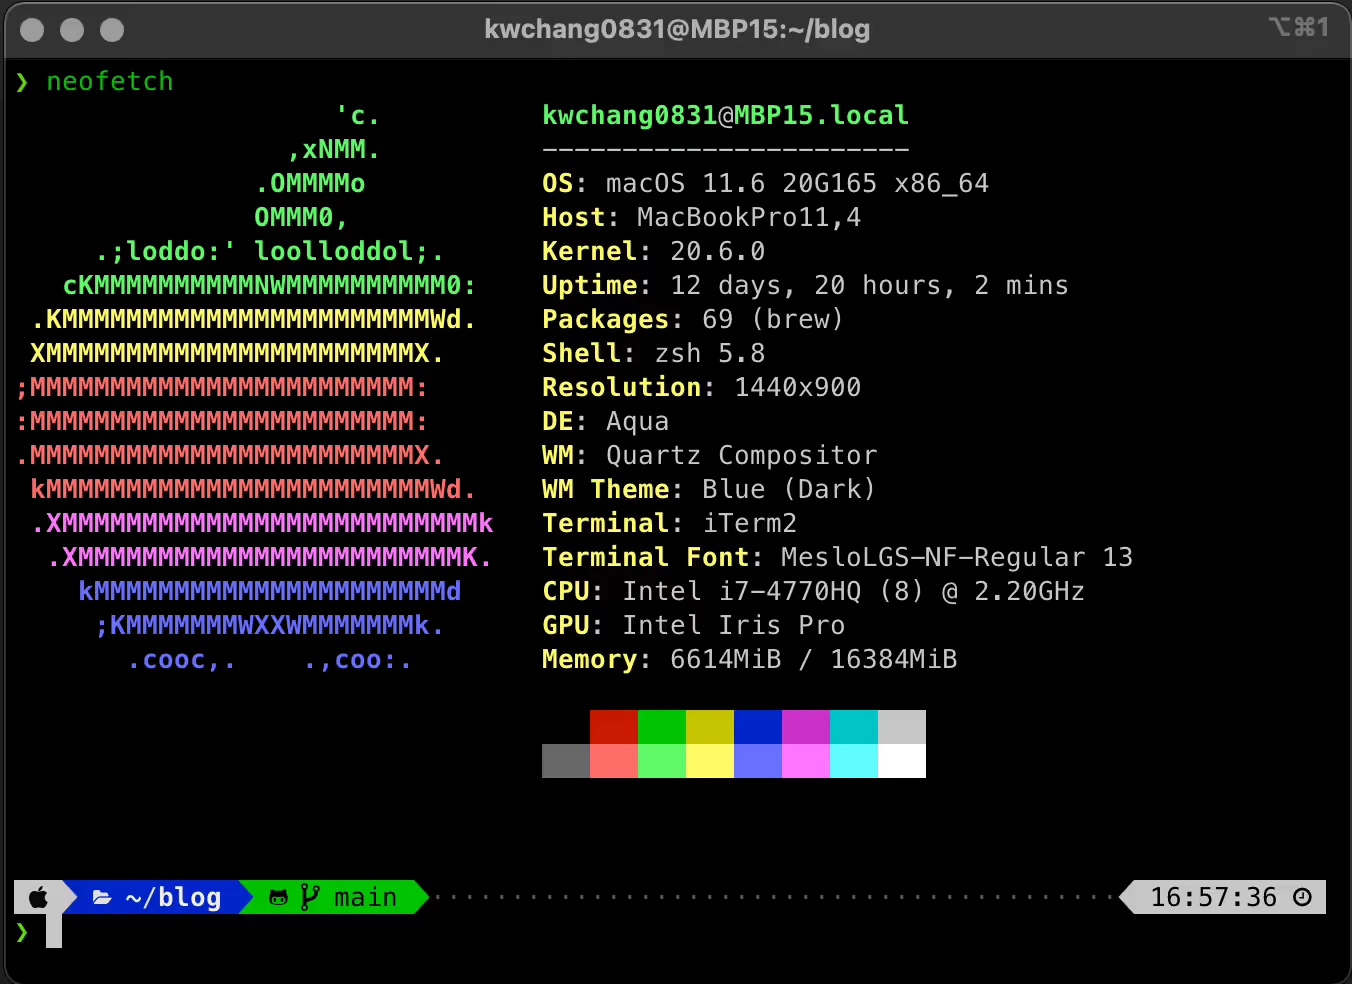
本篇文章紀錄如何美化 macOS 的 Terminal 環境 ,讓平常工作起來更高效。
本篇文章會安裝以下套件:
- Homebrew
- iTerm2
- Zsh
- Oh My Zsh
- Powerlevel 10k 主題
- zsh-autosuggestions
- zsh-syntax-highlighting
- Zsh-z
環境配置
環境配置為 macOS , 並使用 iTerm2 為我們的終端機。
安裝 Homebrew
Homebrew 是一個在 macOS 上主流的套件管理工具,打開 Terminal 輸入以下指令安裝:
shell
常用指令
更新套件清單
shell
更新已安裝的套件
shell
Homebrew 安裝套件
shell
更新用 Cask 安裝的套件
shell
清除舊版套件檔案
shell
解除安裝套件
shell
安裝 iTerm2
iTerm2 是一個比內建 Terminal 更好的終端機。打開 Terminal 輸入以下指令,用 Homebrew 的 Cask 來安裝:
shell
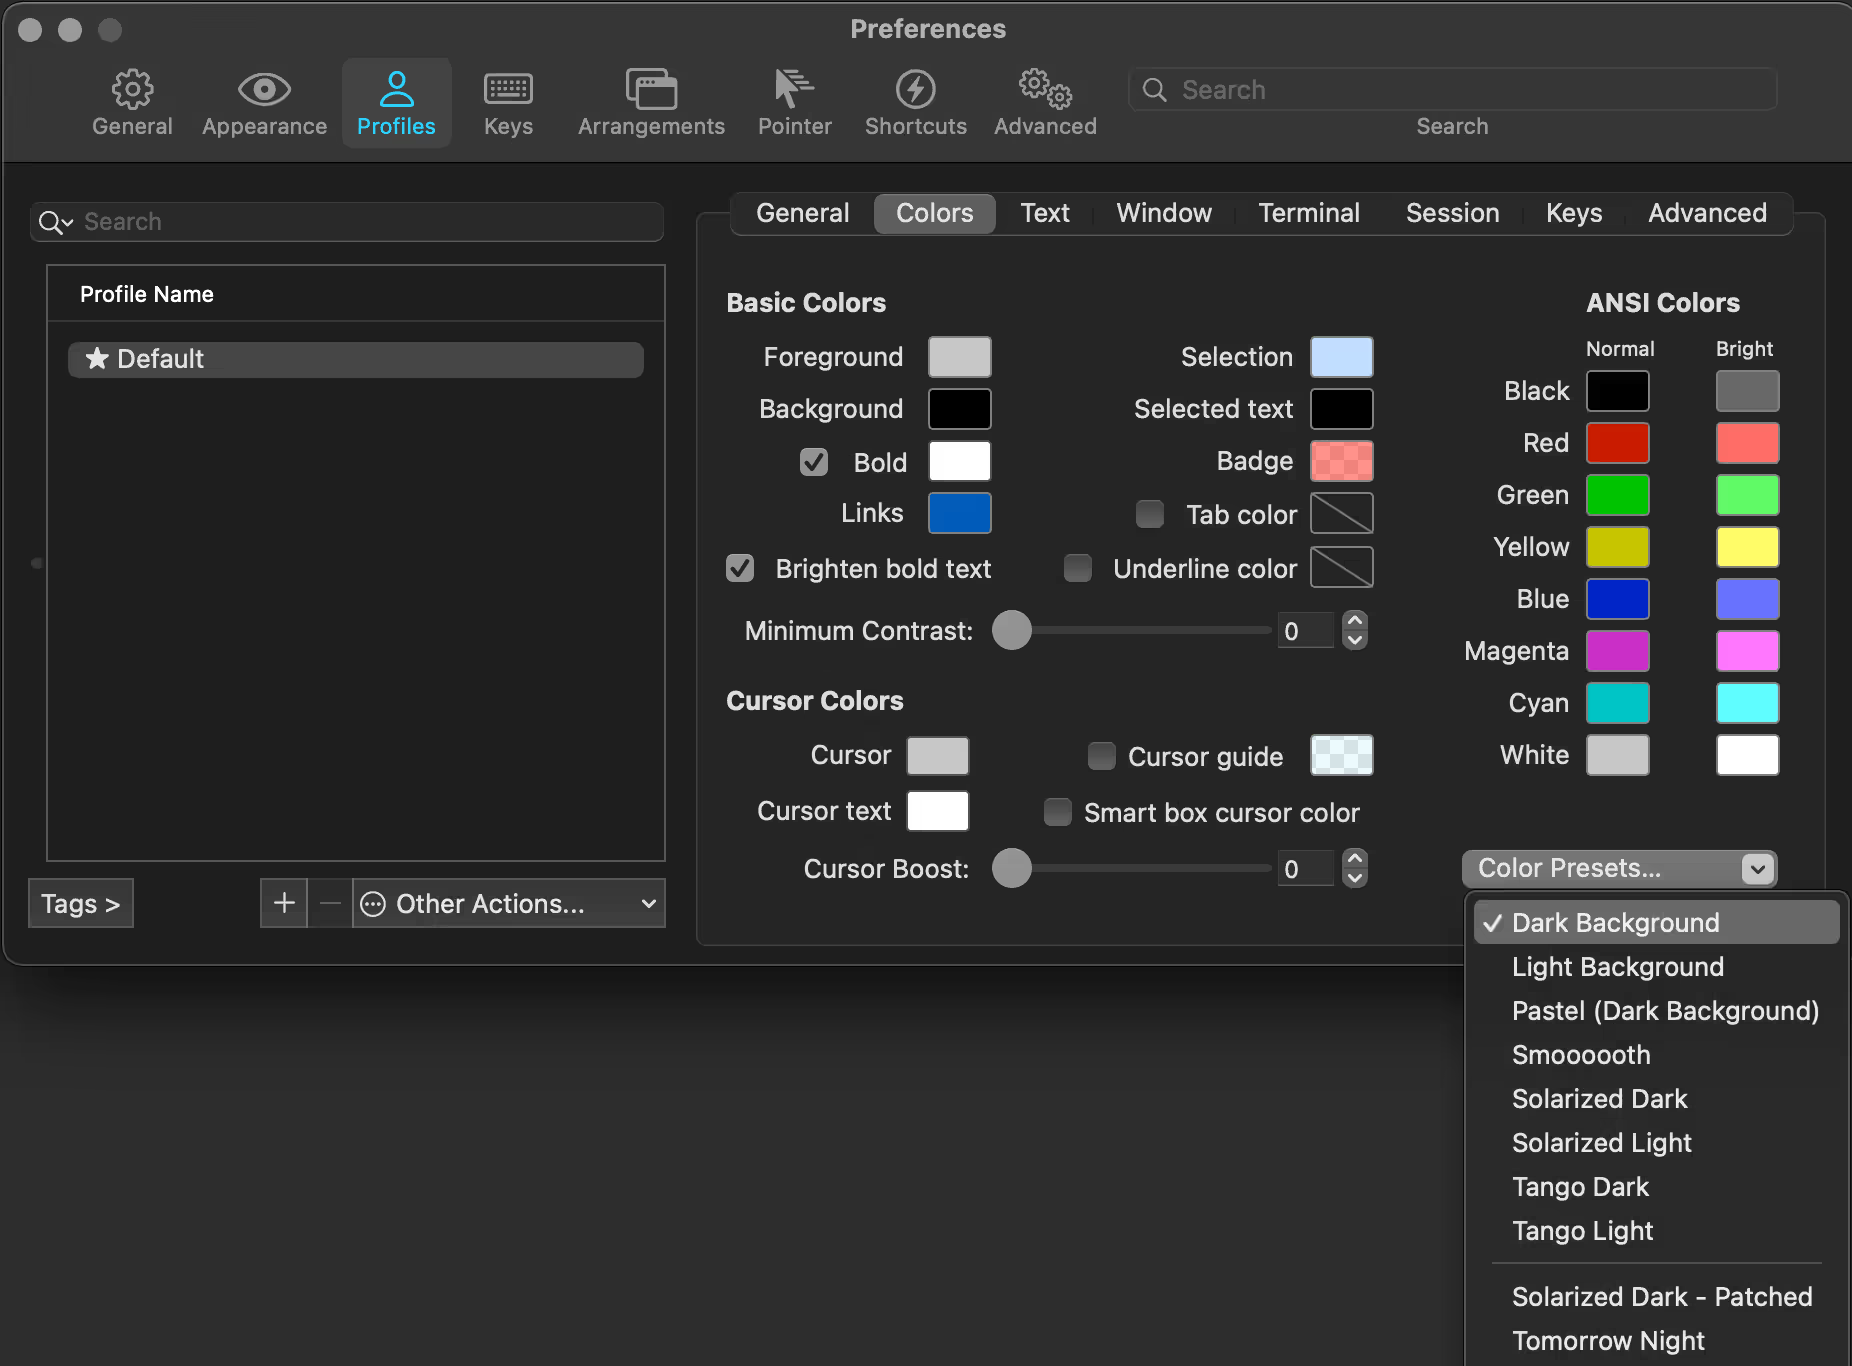
變更 iTerm2 顏色主題
更改顏色主題的方式為 iTerm → Preferences → Profiles → Colors → Color Presets… 。我自己是使用預設的 Dark Background。
如果內建的不夠使用的話,這邊有很多顏色主題可供下載使用: https://github.com/mbadolato/iTerm2-Color-Schemes
查看已安裝的 Shell
shell
若沒有看到 zsh ,安裝 zsh
shell
安裝 Oh My Zsh
shell
(選用) 設定預設 Shell
若之前並沒有成功設定修改預設 Shell,請執行以下指令:
shell
執行 zsh 開始使用
shell
安裝插件
主題 PowerLevel10k
shell
插件 zsh-autosuggestions
輸入指令時,如果看到灰色字的自動完成顯示,可以按下➔來採用。
shell
插件 zsh-syntax-highlighting
shell
(選用) 插件 Zsh-z
類似於 autojump 的插件,比 cd 更快速地直接跳到想去的資料夾,且效能更好沒有一堆依賴包。
shell
使用方法
查看已知的資料夾位置
shell
進入在子資料夾中包含此字串的資料夾,可以用 Tab 來選擇結果,如果有多個符合 et 的資料的話。
shell
查看其他用法
shell
啟動插件
1.打開 Zsh 用戶設定檔
shell
2.修改主題
ZSH_THEME="powerlevel10k/powerlevel10k"
3.新增要啟動的插件 (Plugins)
plugins=(git zsh-autosuggestions zsh-syntax-highlighting zsh-z)
儲存。
4.應用修改過的 zshrc
shell
Powerlevel10k 設定
若之前沒有啟動 Powerlevel10k 設定小幫手,或是還需要重新設定 Powerlevel10k,
打開 Shell 輸入:
shell
應用修改 ~/.zshrc 之後,因為第一次使用 Powerlevel10k,會自動啟動設定。
若是之前沒有安裝過 Patched 過的字型,設定精靈會詢問是否要幫你安裝 Meslo Nerd Font。
按造設定精靈的提示,安裝完字體之後會要求你重新開啟 iTerm2 。
這邊需要使用
之後就會進入設定的畫面,按造你的需求完成設定即可。
下載安裝 Patched 字型
若是沒有碰到設定精靈詢問你安裝字型的問題,然後顯示是有亂碼的話
請下載並安裝以下四個字型:
或是用指令的方式下載:
shell
下載完成打開字型檔案,點擊 Install Font 。
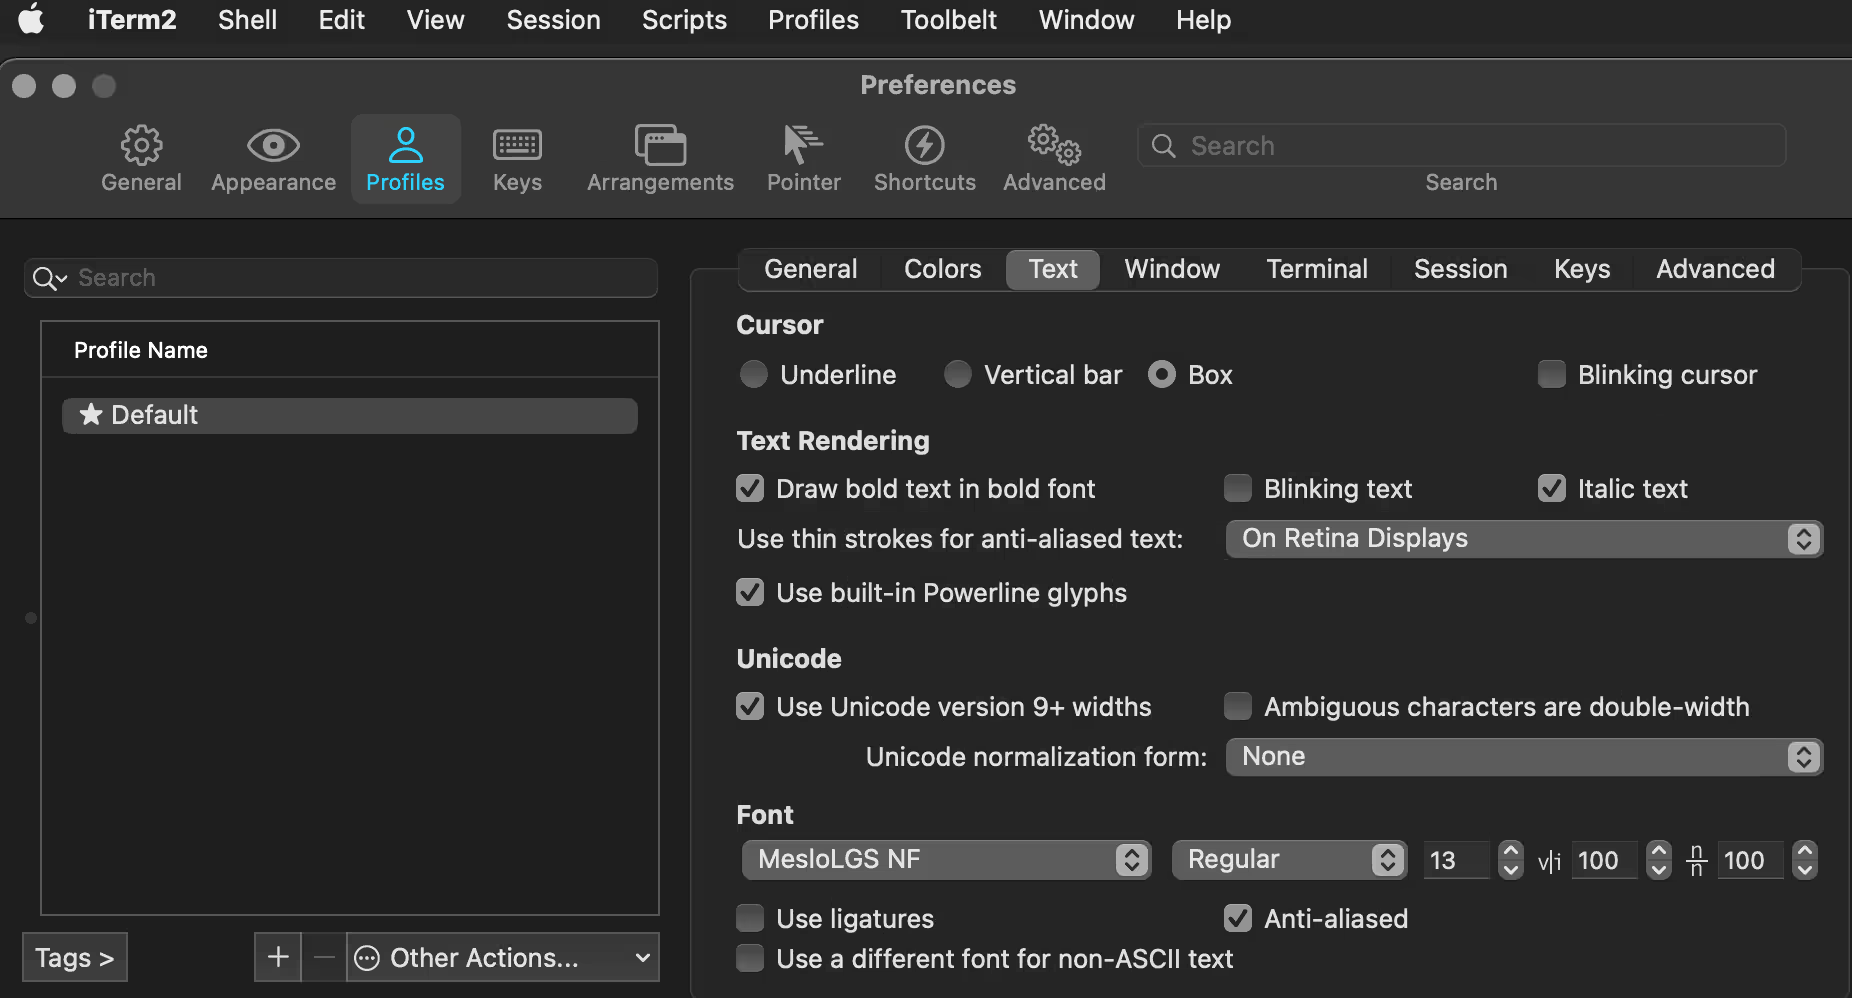
修改 iTerm2 字型
更改字型的方式為 iTerm → Preferences → Profiles → Text → Font 。把 Font 改成 MesloLGS NF。