
開頭
本篇文章紀錄如何在 Windows 10 的 Linux 子系統 (WSL) 內安裝 Centos 。
預設並沒有提供 Centos 的 image 可供安裝,
這邊會介紹如何下載可供 WSL 安裝的 image 檔案來進行安裝。
環境配置
請確認已經安裝好 WSL 與 Windows Terminal,若是還沒有設置好,請參考:
- 從 Windows 上用 WSL 安裝 Ubuntu 參考 安裝 WSL
- 從 Windows Terminal - 比 Cmder 更好用的終端機 參考 安裝 Windows Terminal
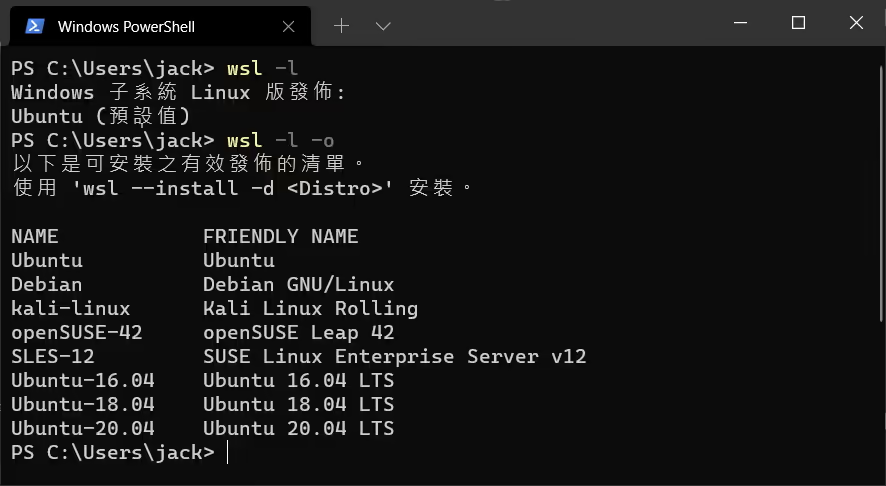
查詢可用 Linux Distro
shell
列表裡並沒有 Centos7 可以安裝,沒關係,我們去找可供 WSL 安裝的 Image 檔案。
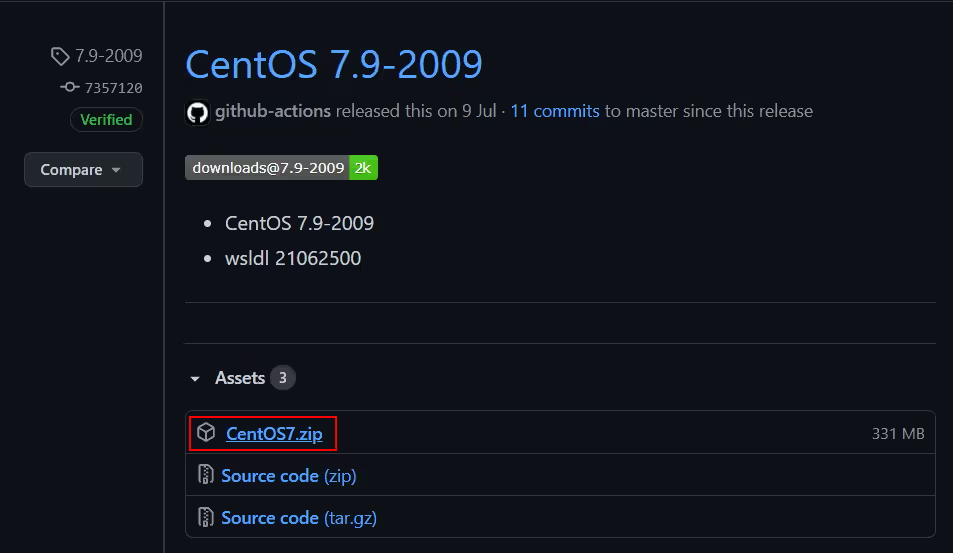
下載 CentOS Image
我們這邊示範的版本是 CentOS 7.9-2009
https://github.com/mishamosher/CentOS-WSL/releases/tag/7.9-2009
如果需要別的版本,請參考 https://github.com/mishamosher/CentOS-WSL/releases
裡面包含以下版本:
- CentOS 8-stream
- CentOS 8
- CentOS 7
- CentOS 6
下載好之後,請解壓縮到一個適合存放的資料夾裡。
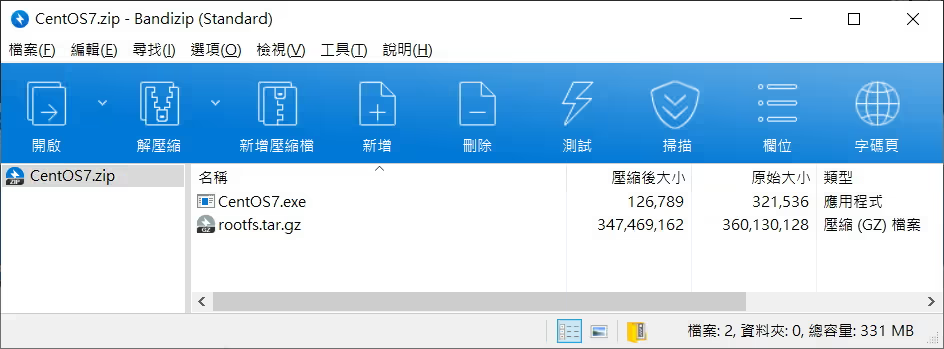
安裝 Centos 7
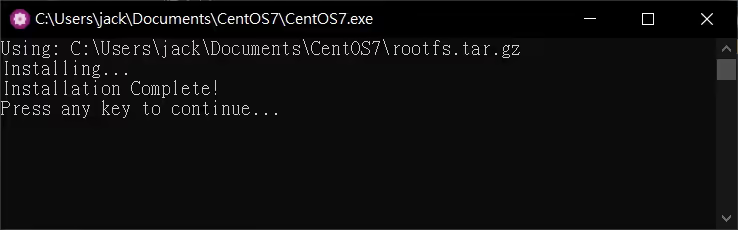
點擊兩下執行安裝。安裝會自動執行。最後會要你輸入任何按鍵以繼續,就完成安裝了。
Windows Terminal
如果之前已經有安裝 Windows Terminal。 Centos7 的選項會自動匯入。
如果沒有顯示 Centos 7 的選項,請關閉所有 Windows Terminal 重新開啟就會自動匯入了。

更新 Centos
shell
解除安裝 Centos
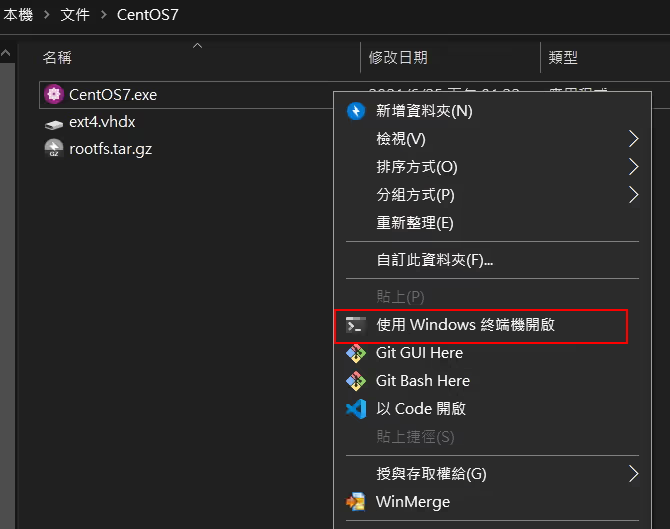
如果想要解除安裝,於 Centos 7 存放檔案的資料夾開啟 Windows Terminal ,輸入以下指令:
shell
Windows Terminal 裡面的 Centos7 選項會自己刪除。
只要關閉再重新開啟 Windows Terminal 就可以了。
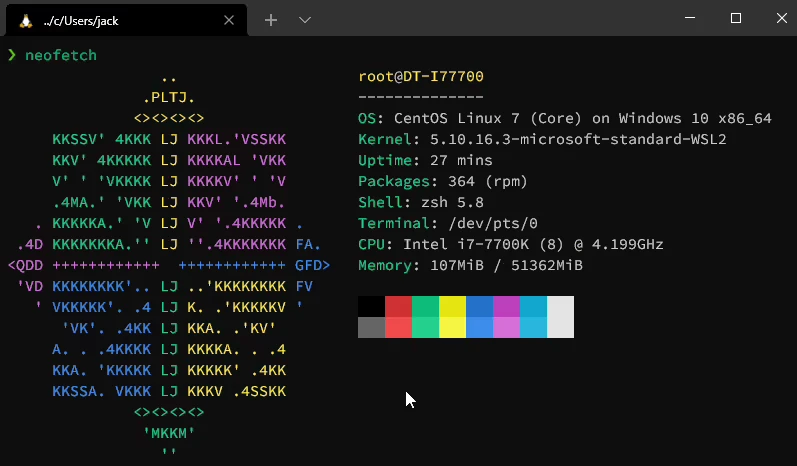
(選用) 安裝 NeoFetch
NeoFetch 是一個顯示電腦配置的小工具。
1.安装 epel-release
shell
2.增加第三方來源庫
shell
3.安裝 NeoFetch
shell